How to connect Klaviyo to mailfloss
mailfloss connects to Klaviyo in one click. You approve access in Klaviyo, and you never copy an API key.
Connect from mailfloss
Step 1. In mailfloss, go to Integrations and click Add integration
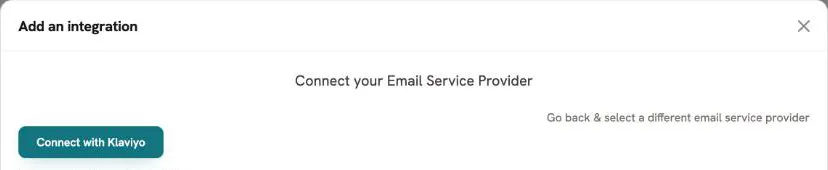
Step 2. Select Klaviyo, then click Connect with Klaviyo
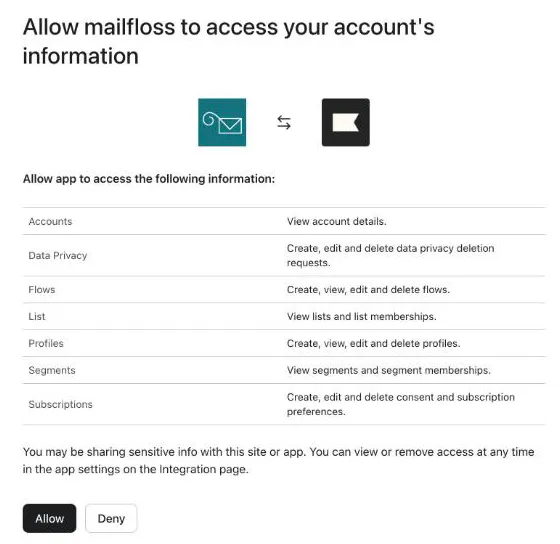
Step 3. Sign in to Klaviyo if asked, review the access mailfloss asks for, and click Allow
Step 4. Choose your lists and turn on your checks
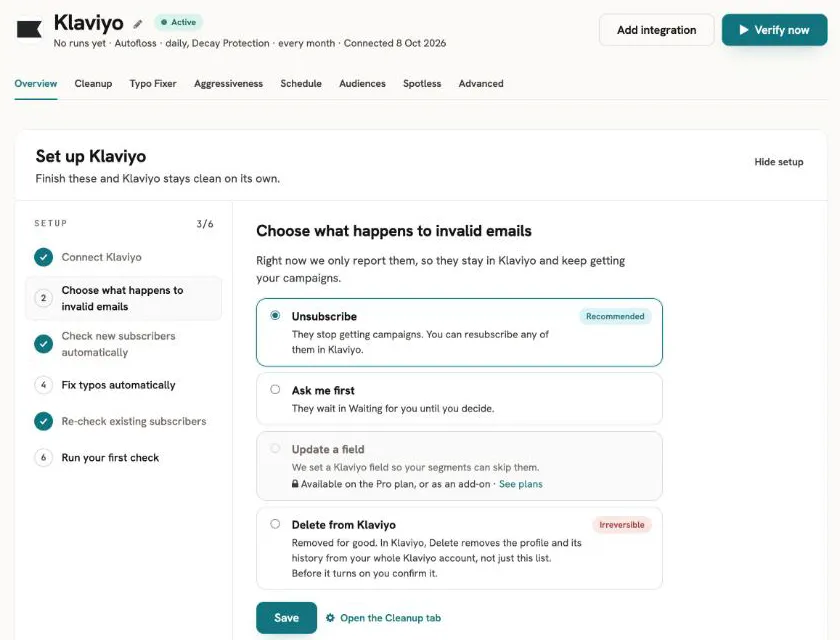
Back in mailfloss, choose the lists and segments to verify. Then, on the Schedule tab, turn on the checks you want: Autofloss, Instafloss and Decay Protection.
Started from Klaviyo?
If you install mailfloss from Klaviyo, Klaviyo sends you to mailfloss to sign in or create an account, then straight to step 3.
Connected with a private API key?
Open your Klaviyo connection in mailfloss, go to the Advanced tab, and click Switch to one-click connection. Sign in to Klaviyo and click Allow. Your settings and lists stay as they are. You can then delete the old key in Klaviyo under Settings, API keys.
Disconnect
Open your Klaviyo connection in mailfloss, go to the Advanced tab, and click Disconnect. If no other mailfloss connection uses that Klaviyo account, this also removes mailfloss from your Klaviyo account’s Integrations page.
For what mailfloss reads and changes in your account, see What mailfloss reads and writes in KlaviyoWhat mailfloss reads and writes in Klaviyo.