How to enable Instafloss for Encharge
12 min
part gives Encharge real-time capabilities! Follow the instructions to start preventing bounces before they happen:
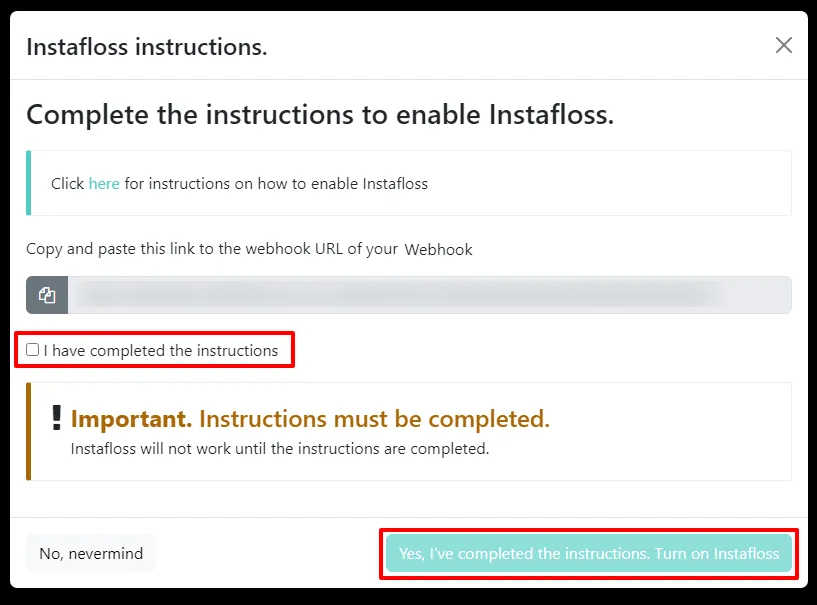
Step 1. From your Encharge integration, click the Instafloss switch.
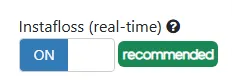
Step 2. Copy the webhook URL from the Instafloss popup.
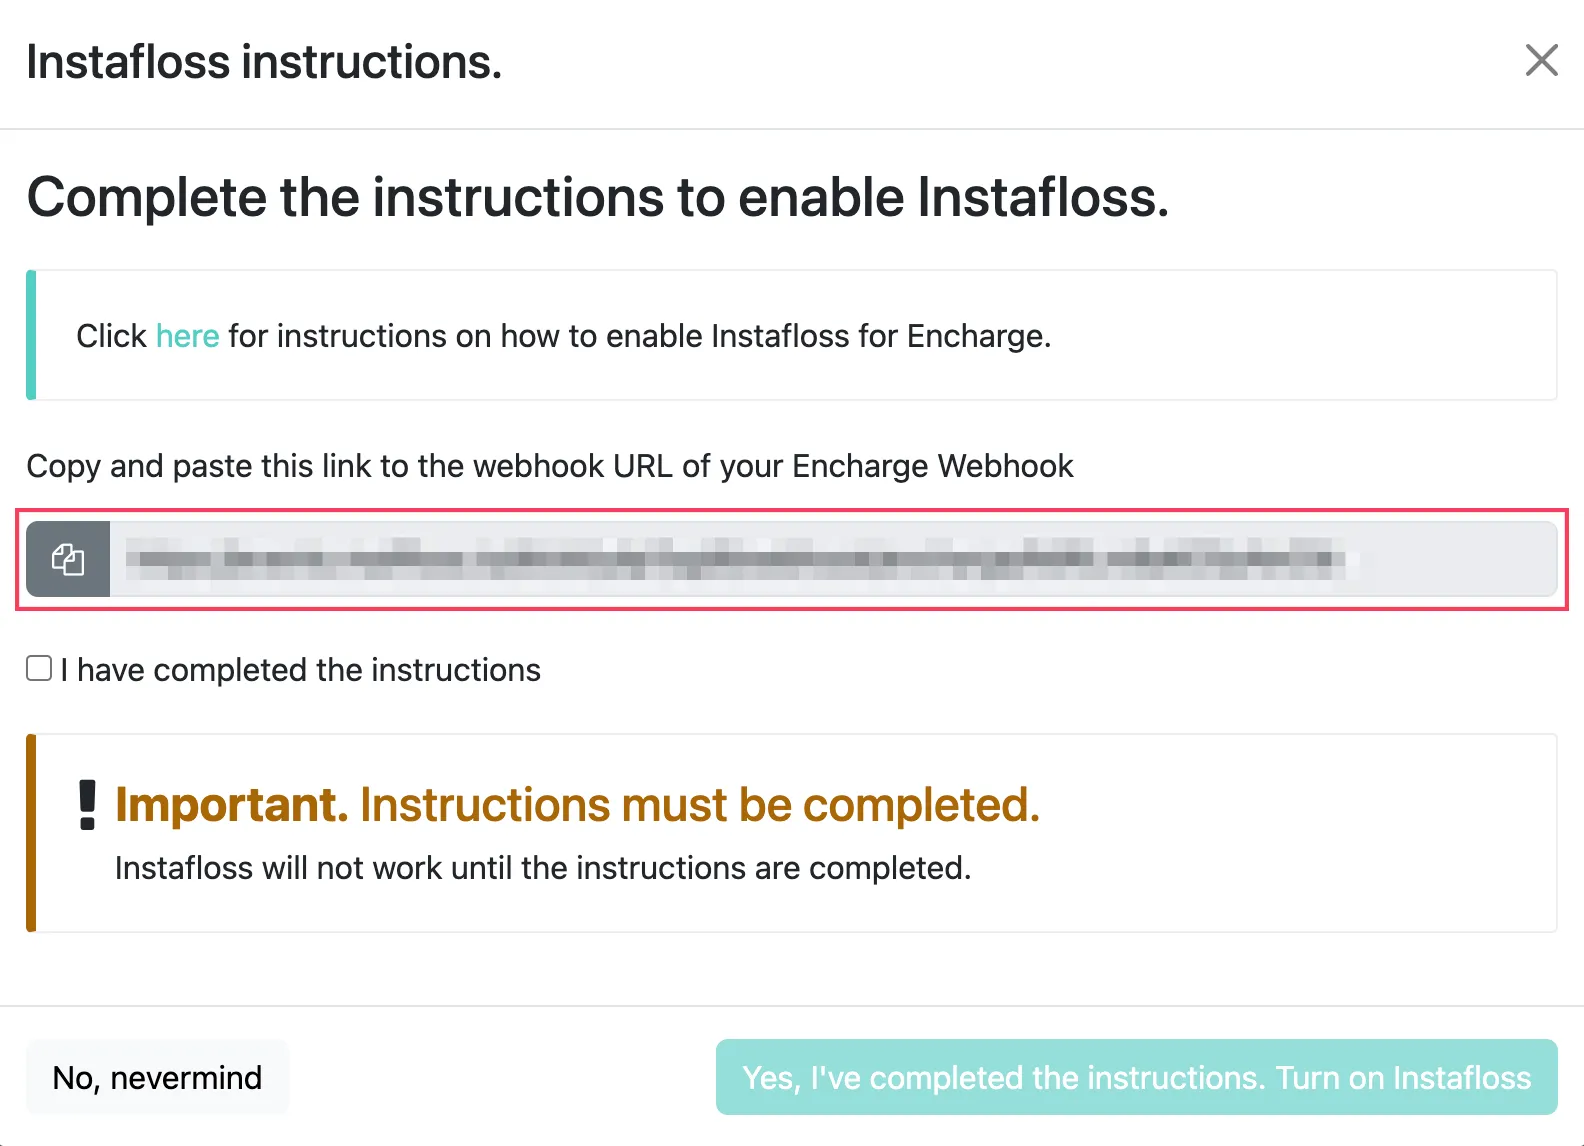
Step 3. From the Encharge dashboard, click on "Flows".

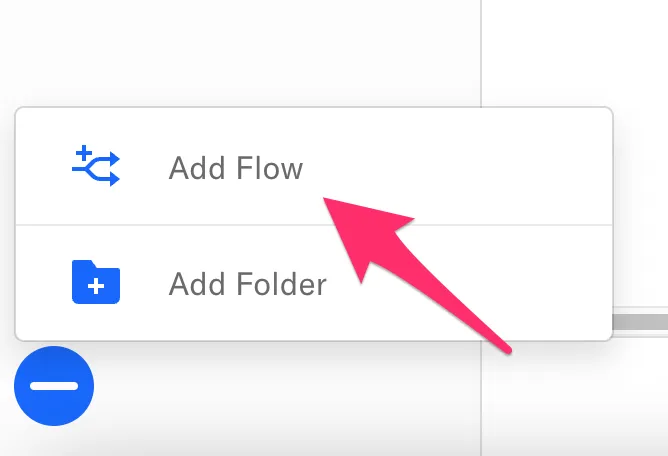
Step 4. Click the plus sign at the bottom left bottom select "Add Flow".
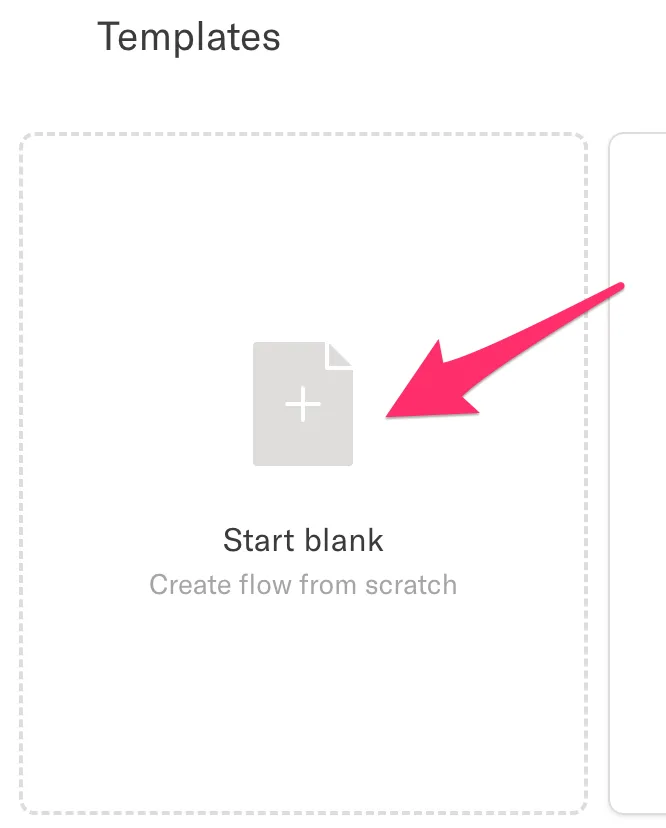
Step 5. Select "Start blank" to create your new flow.
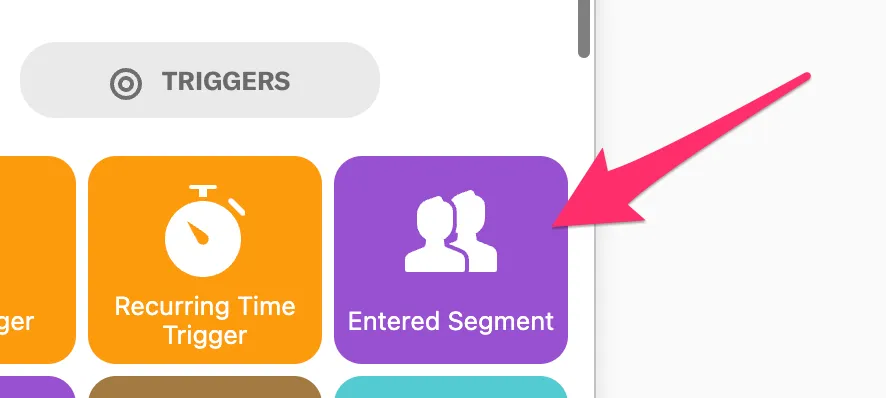
Step 6. For the first part of your flow, click and drag the "Entered Segment" option.
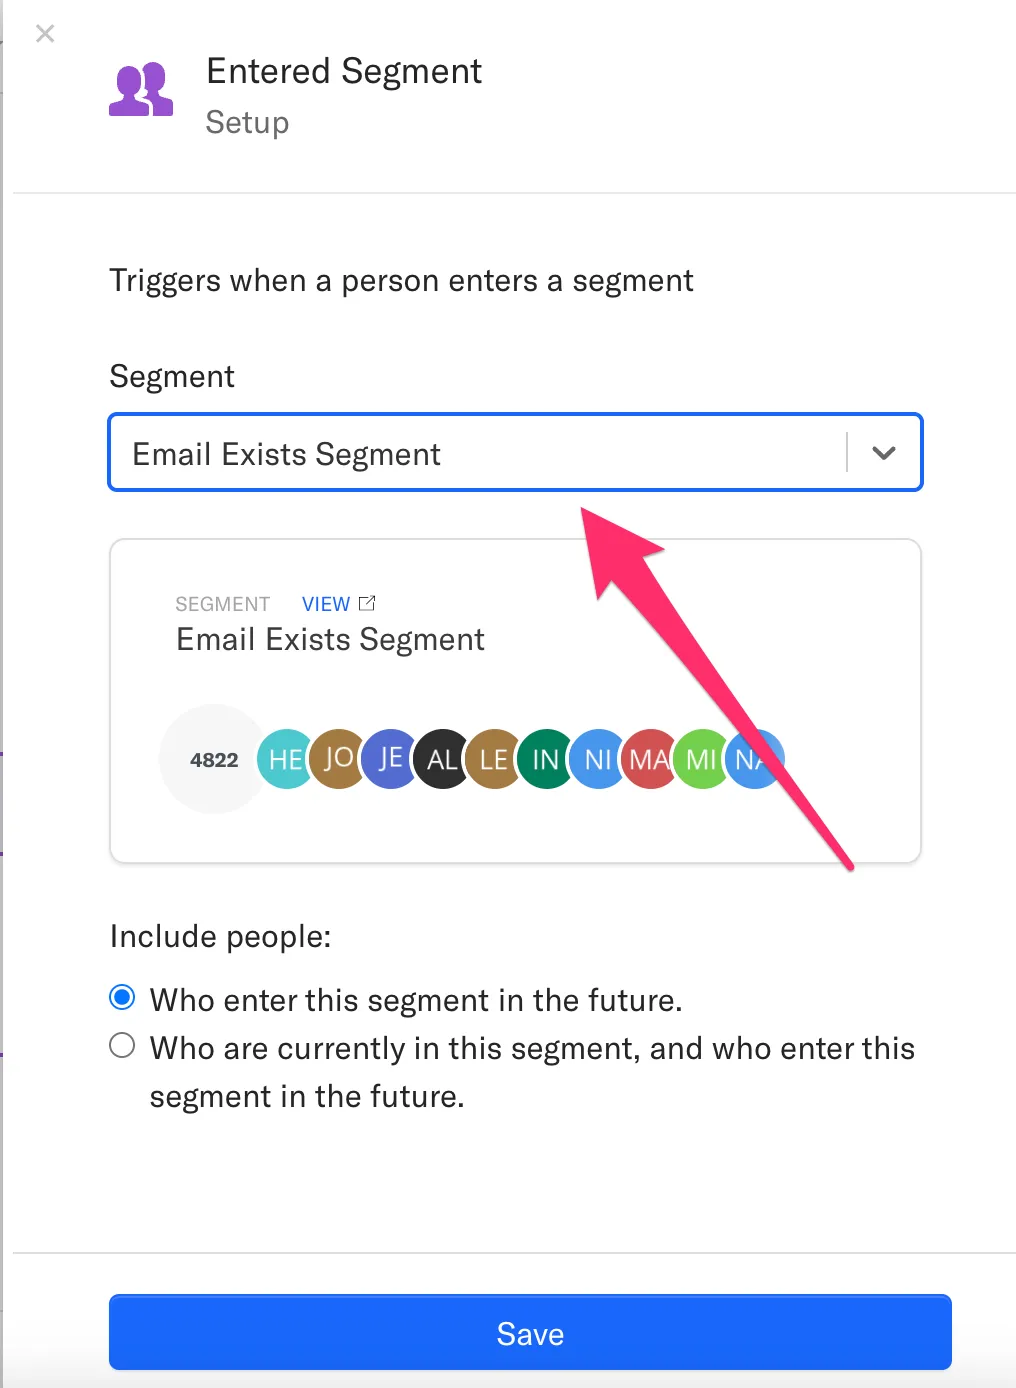
Step 7. Once in the canvas, click on it to start selecting settings. Select a segment, include people who enters the segment in the future, and click "Save".
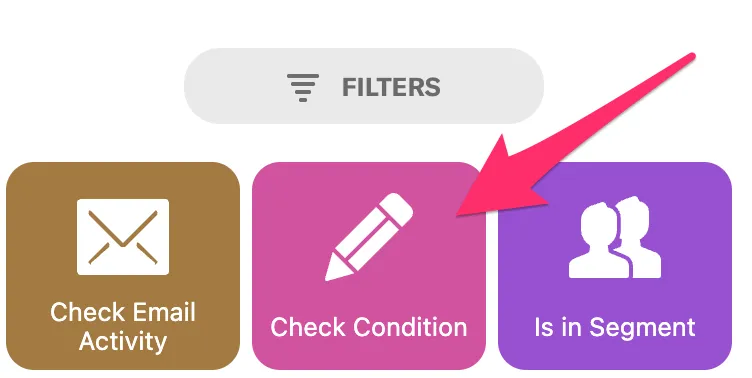
Step 8. Now, you need to add a filter. Scroll down to the Filters section and select the "Check condition" one.
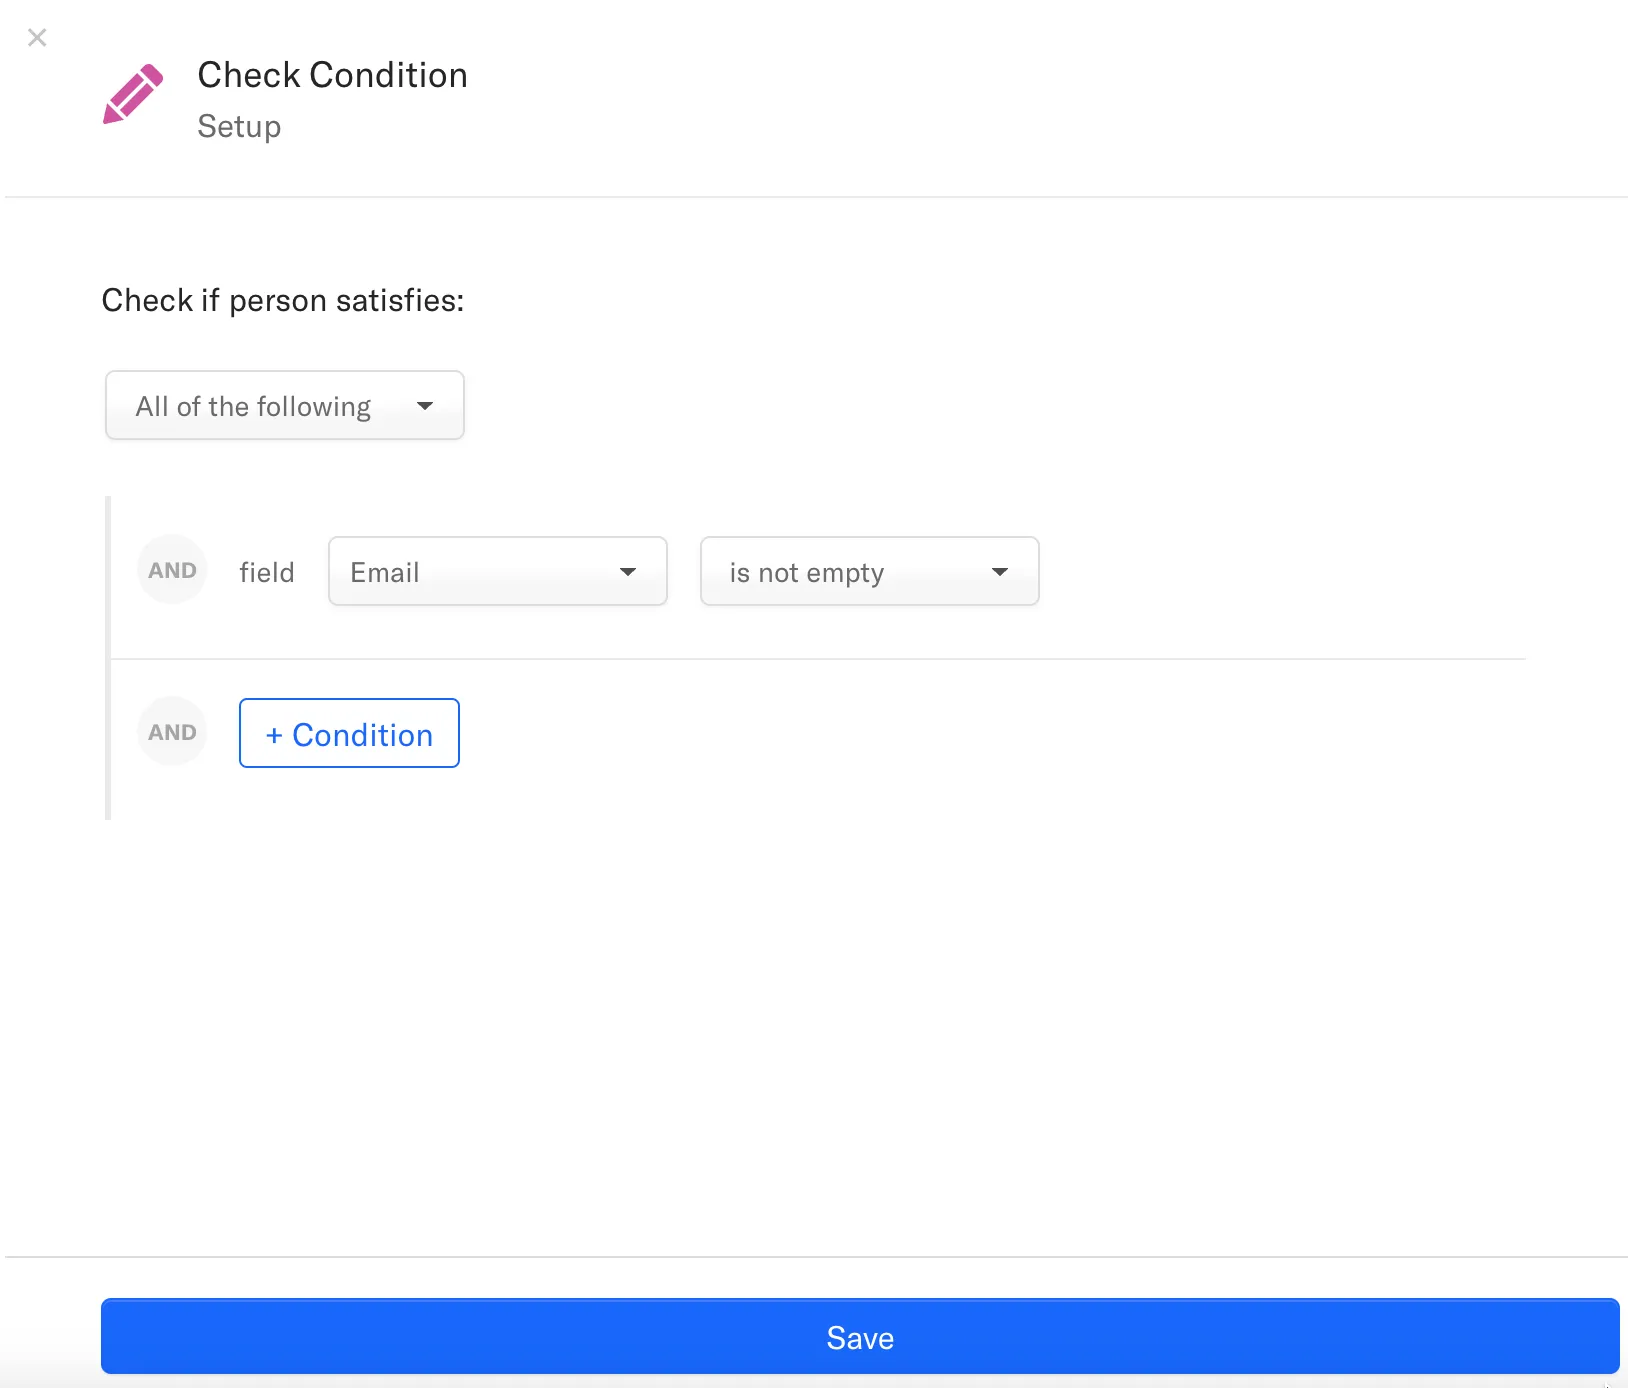
Step 9. Click on it and add the settings. Set it to verify that the email field is not empty. Click the "Save" button.
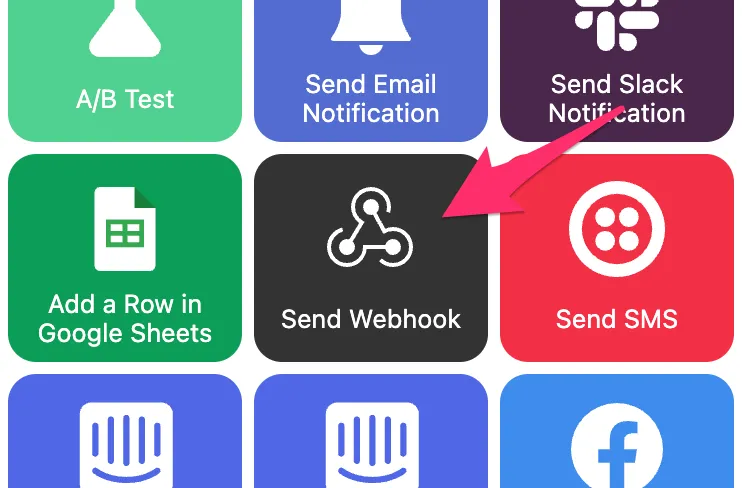
Step 10. For the final part of our flow, scroll back to the "Actions" section. Select and drag the "Send webhook" one.
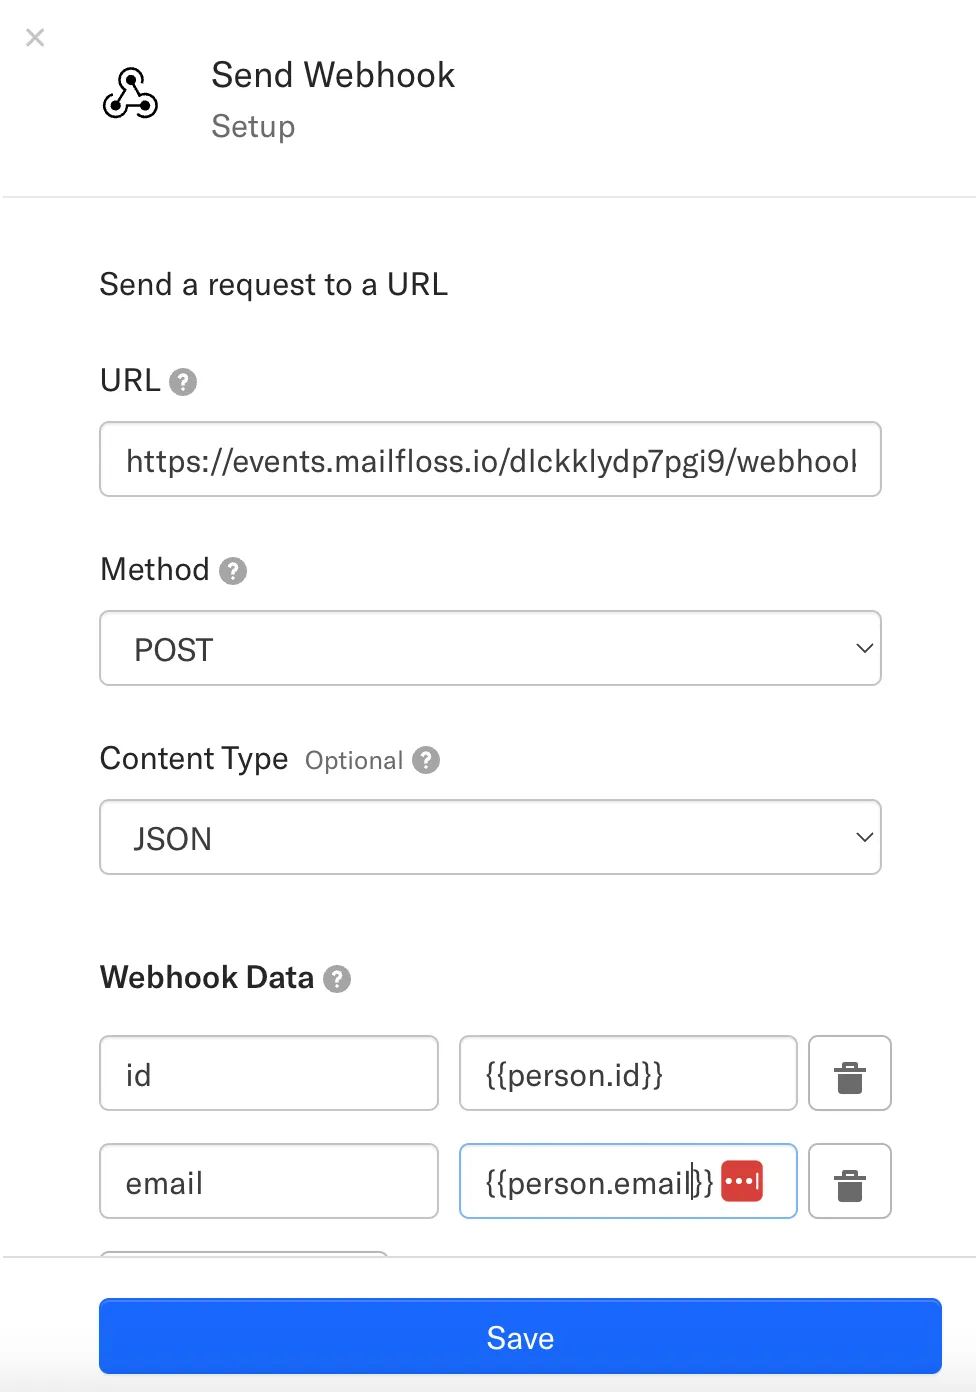
Step 11. Once in the canvas, click on it to settle it up.
Paste the webhook URL you got from your mailfloss app, leave the Method as "Post" and the Content Type as "JSON".
For the webhook data, you need to pass on two properties: id and email. Write the properties values as shown, including the braces.
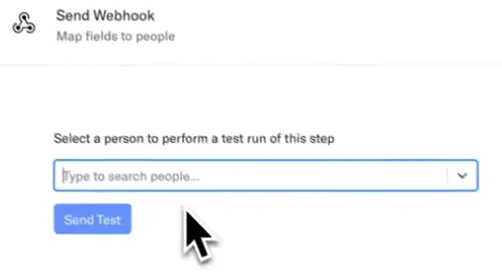
Step 12. Run a test to make sure everything is working properly. Once you get the "Success" status, click the "Save" button.
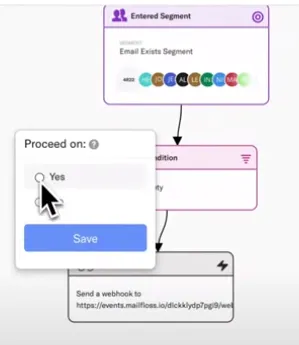
Step 13. Use the arrows to connect your flow. Once you get the "Proceed on" pop-up, select the "Yes" option and save it.
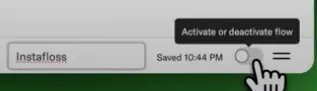
Step 14. At the right bottom options, name your flow and activate it by clicking on the switch.
Step 15. Back in mailfloss, check the "I've completed the instructions" option and save your choice by clicking on the "Yes" button.