Use mailfloss as a Zapier trigger
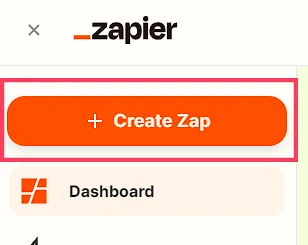
1. Make a zap!
Click "Create a zap" to... well, create a zap.
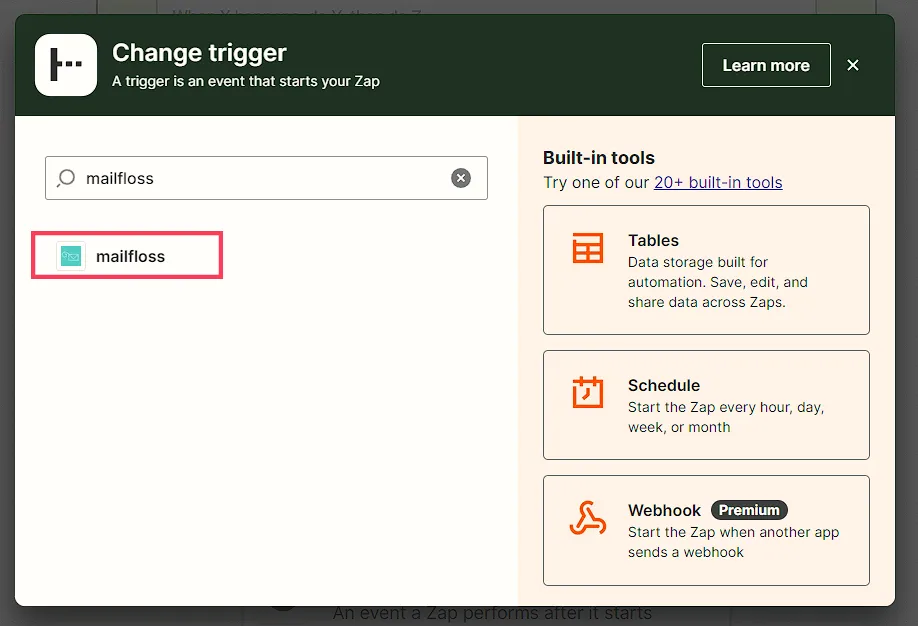
2. Use mailfloss as a trigger
To use mailfloss as a trigger, search for mailfloss in the search bar and select it from the list.
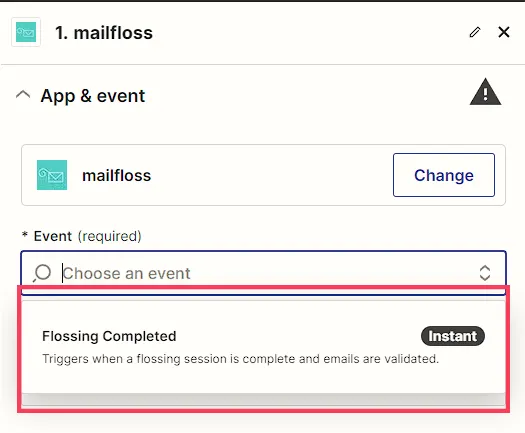
3. Choose an event and continue
Select "Flossing complete" as an event and click on "Continue".
4. Connect an account
If you haven't done so, follow the next part to connect your mailfloss account to Zapier.
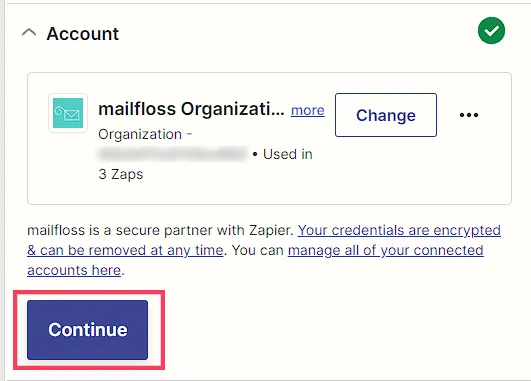
Connect your account:
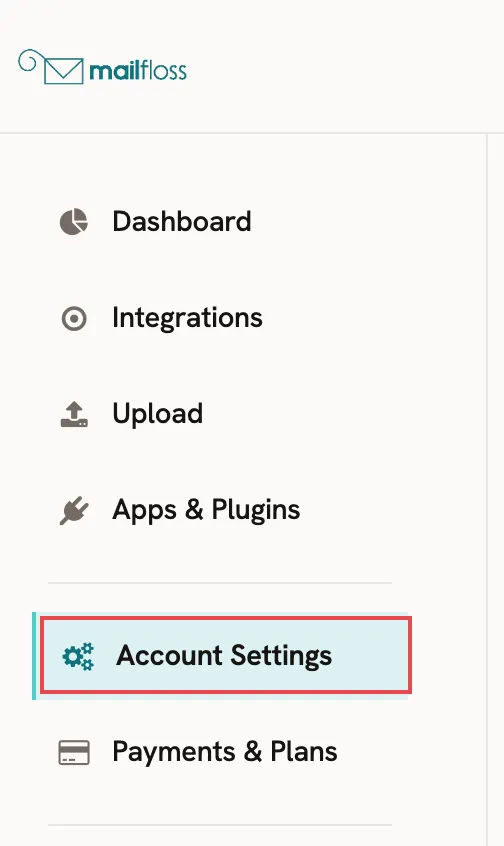
- Back in mailfloss, click Account Settings.
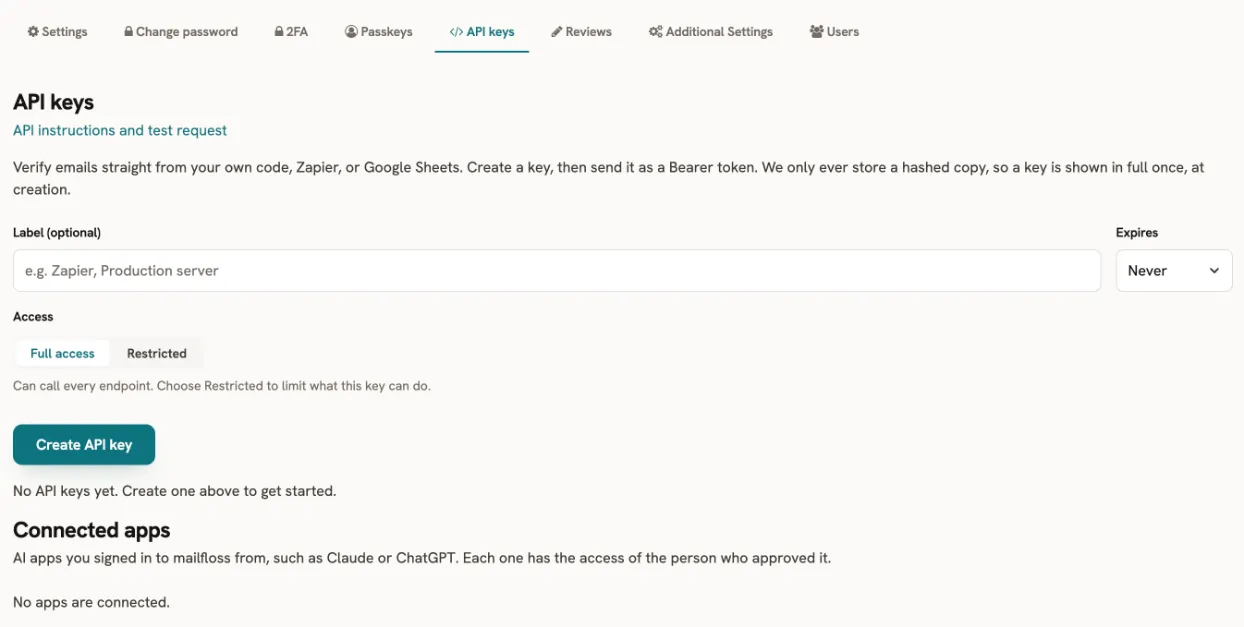
- Open the API keys tab and click Create API key. You can add a Label, such as Zapier. Copy the key right away: mailfloss shows it in full only once, when you create it. Back in Zapier, paste it into the required field.
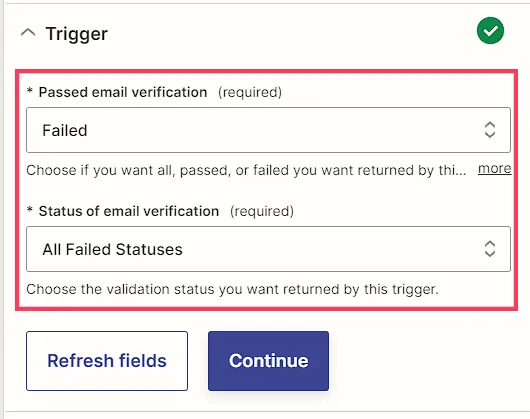
5. Select your settings
Back in Zapier, select your settings, and click "Continue".
(If you need more information about each field, click on "more")
6. Test your trigger
Confirm that your mailfloss account is connected and click on "Test trigger".
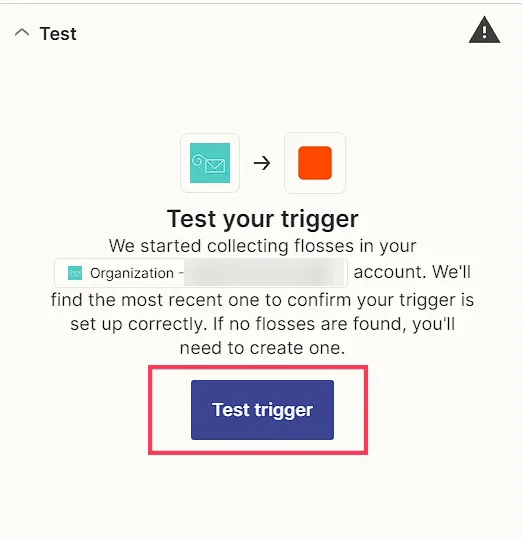
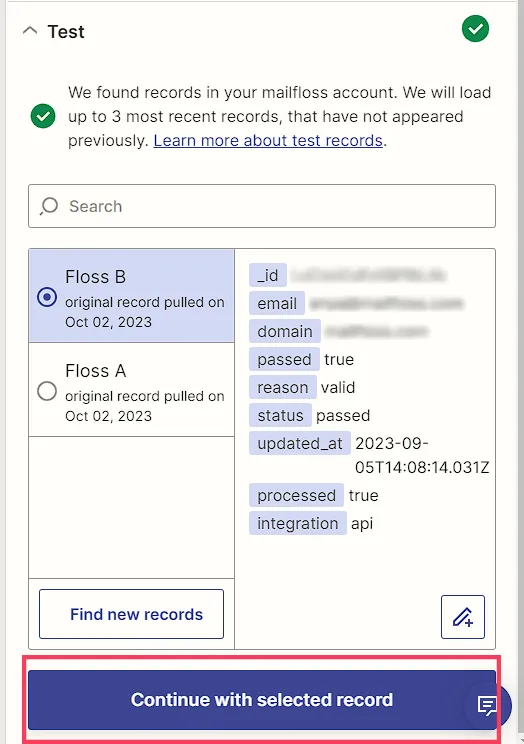
7. Select your data.
If your account was successfully connected and Zapier was able to find data, you will see some record options for failed verifications that can be used to test your trigger. Select one of those records and click on "Continue".
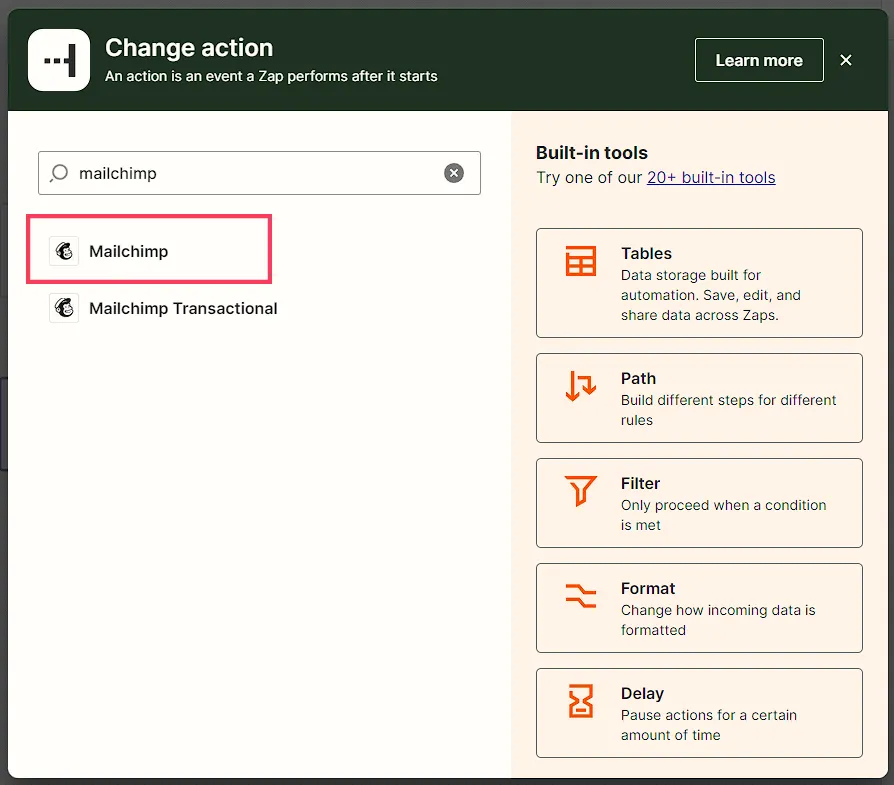
8. Select an action
Search for your email service provider and select it from the list.
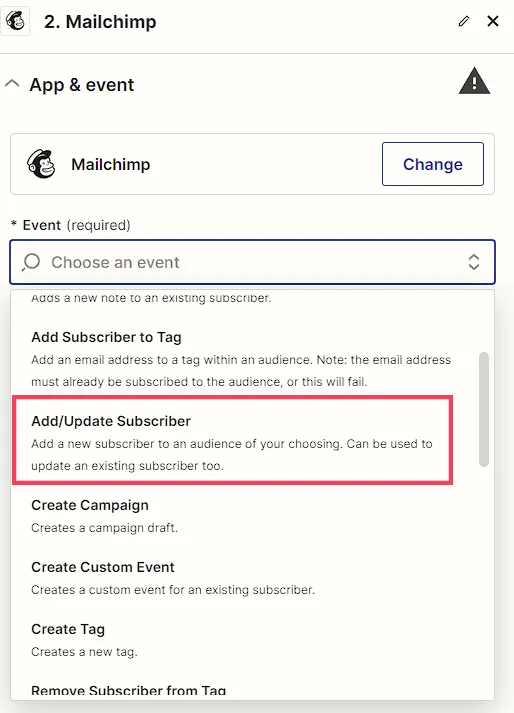
8. Select an event
From the dropdown options, select the event you want to happen after the trigger. For example, "Add/Update subscriber".
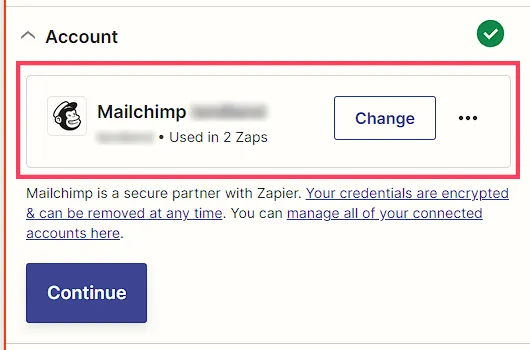
9. Connect your ESP account or confirm your connected one
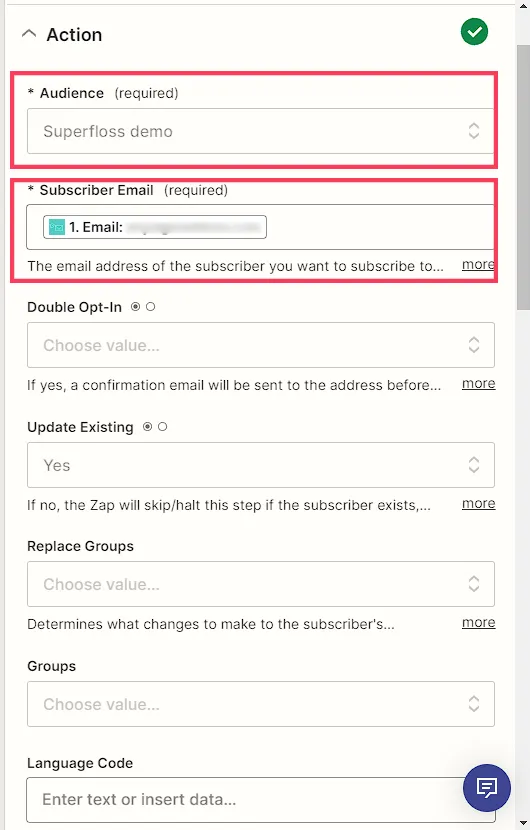
10. Select your actions
For this step, your priority is to select the audience you're going to apply changes to and the subscriber's email address.
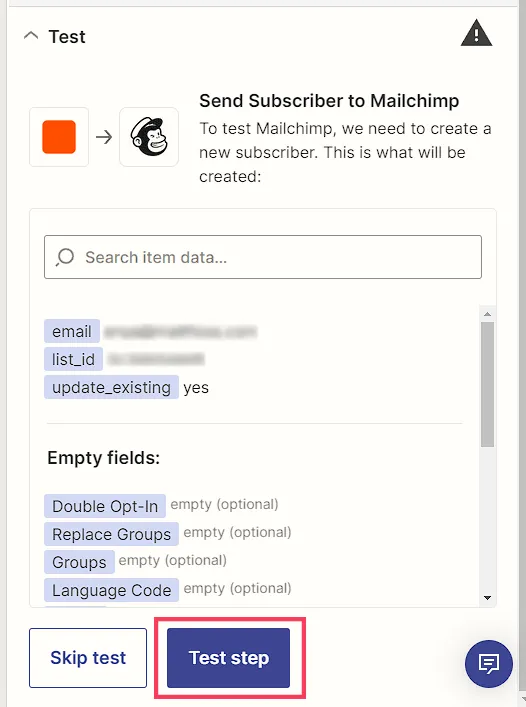
11. Test your step
Confirm your selected data and click on "Test Step".
12. Finish your zap and publish
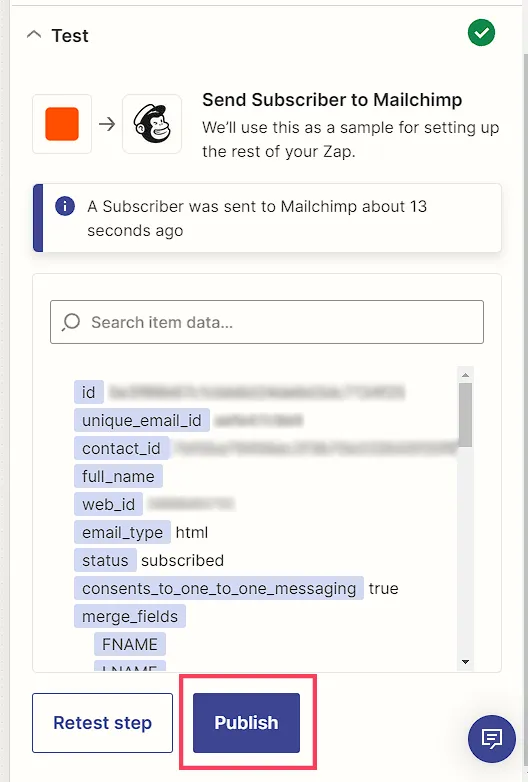
You should get a confirmation for the test process sent to your ESP, along with the data received for it. Click on "Publish" to finish your zap.