How to connect HubSpot to mailfloss - Oauth
mailfloss connects to HubSpot through HubSpot's own sign-in (OAuth). To connect it, you need to be a super admin in HubSpot or have the App Marketplace access permission.
Connect HubSpot
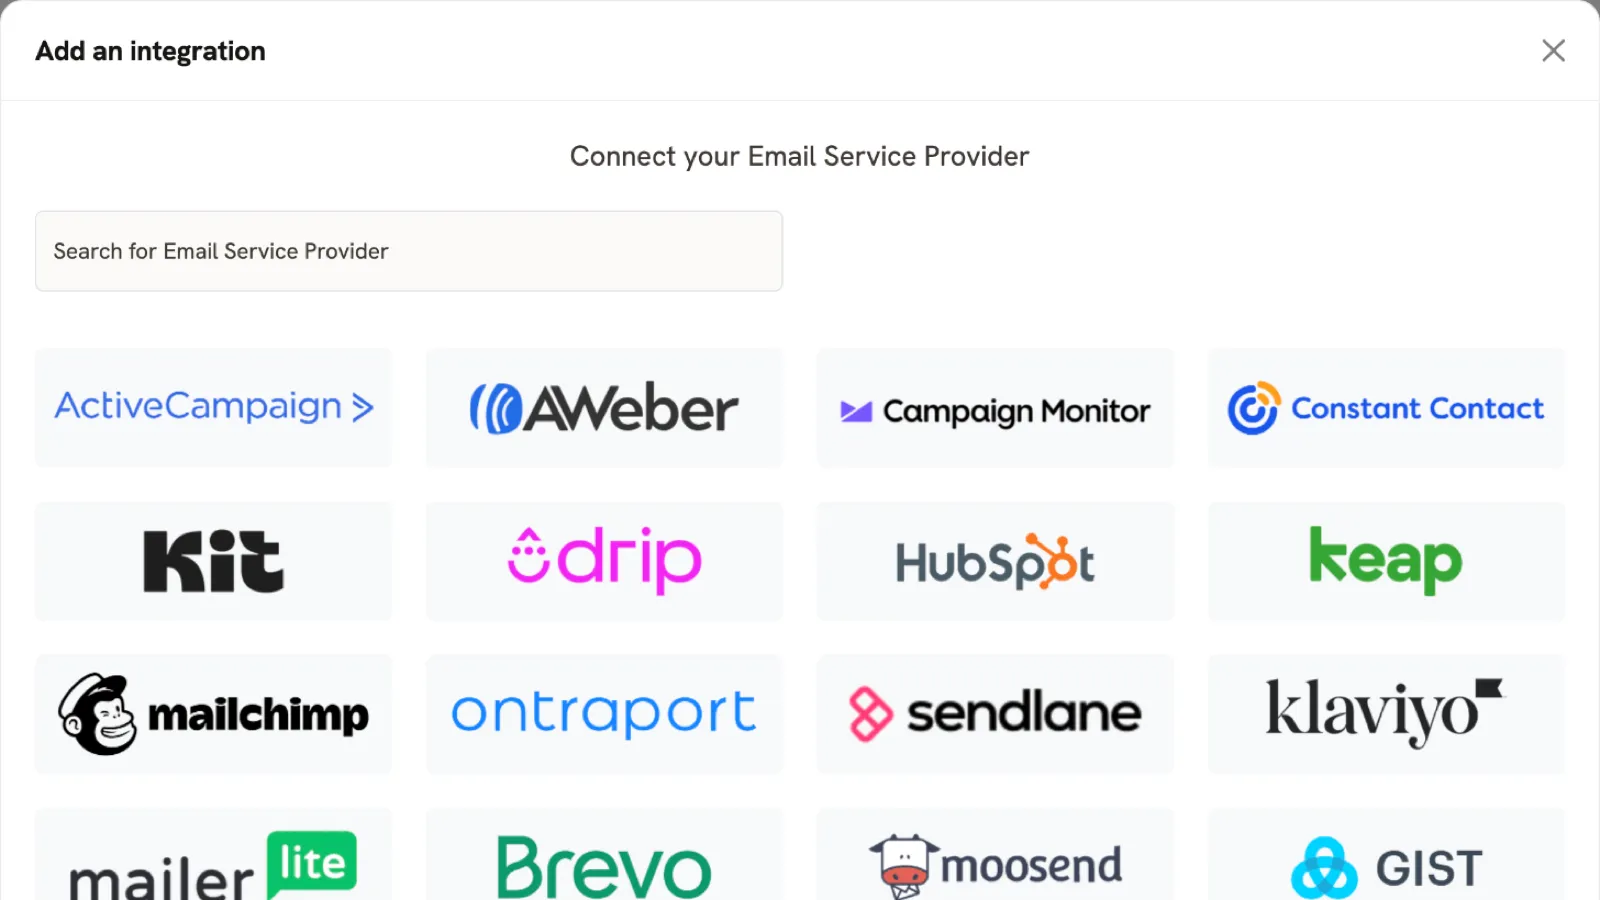
- In mailfloss, open Integrations and click Add integration.
- Click HubSpot.
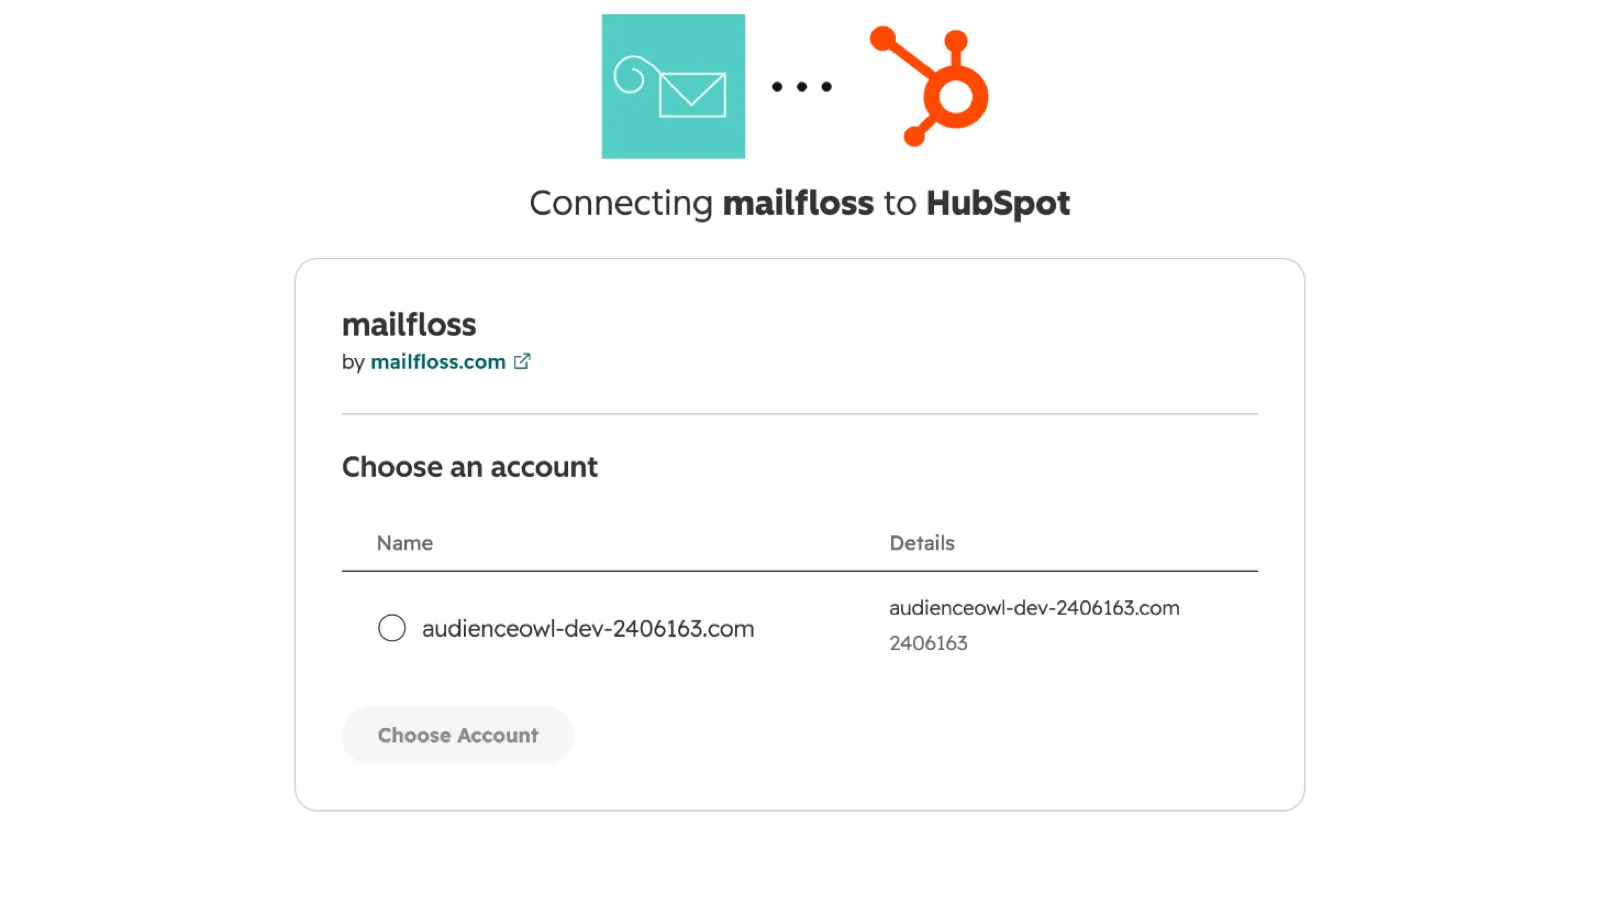
- HubSpot opens. Choose the HubSpot account to connect, then click Choose Account.
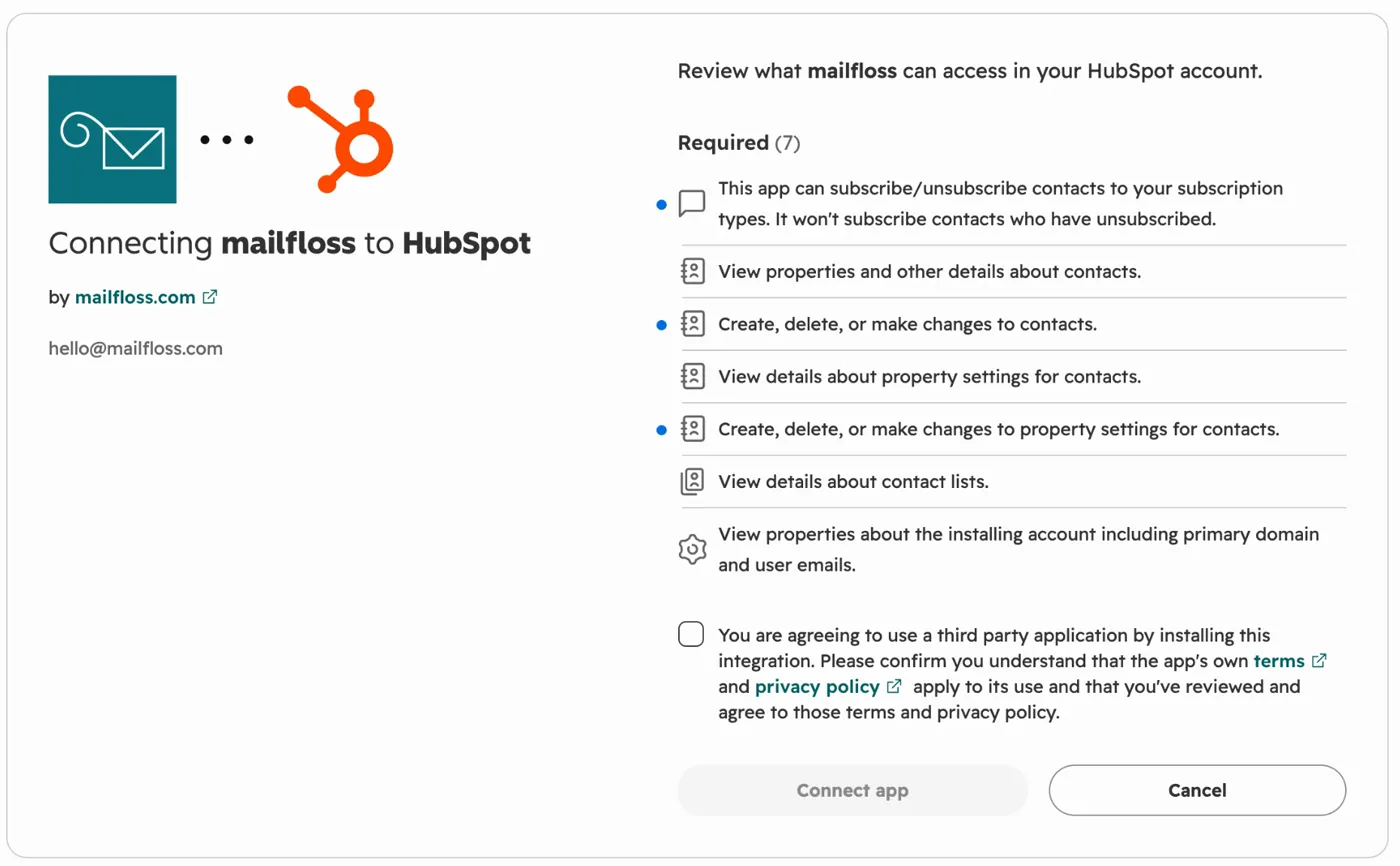
- Review what mailfloss can access and approve the connection. HubSpot skips this step if the account has already approved mailfloss.
- HubSpot sends you back to mailfloss, where your new HubSpot connection opens with a short setup checklist.

mailfloss asks HubSpot for permission to:
- read and update contacts, so it can verify addresses and apply your cleanup choice;
- read and create contact properties, so it can save each result on the contact;
- read lists, so you can choose which lists it checks;
- change email subscription status, so it can unsubscribe invalid contacts if you choose that.
You can also install mailfloss from HubSpot: on the mailfloss listing in the HubSpot App Marketplace, click Install. In the window that opens, sign in to mailfloss or create an account, then approve the connection. HubSpot finishes the install, and your new connection appears in mailfloss.
Choose what mailfloss does
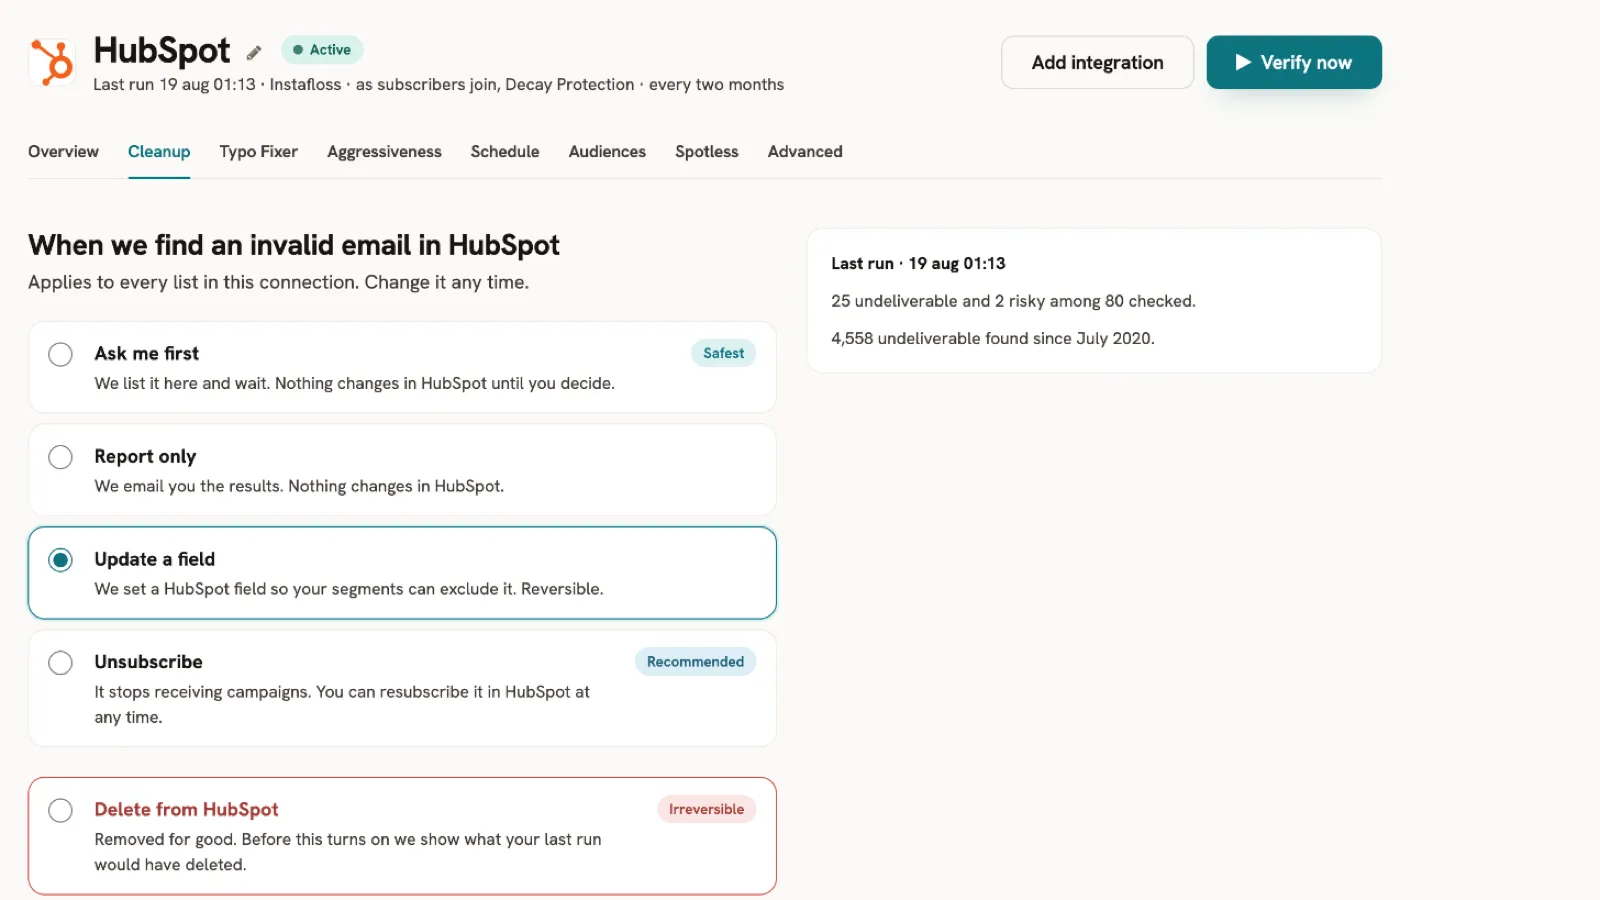
On the Cleanup tab, choose what happens when mailfloss finds an invalid email: wait for your OK, report it only, set a contact property your segments can exclude, unsubscribe the contact, or delete it from HubSpot.
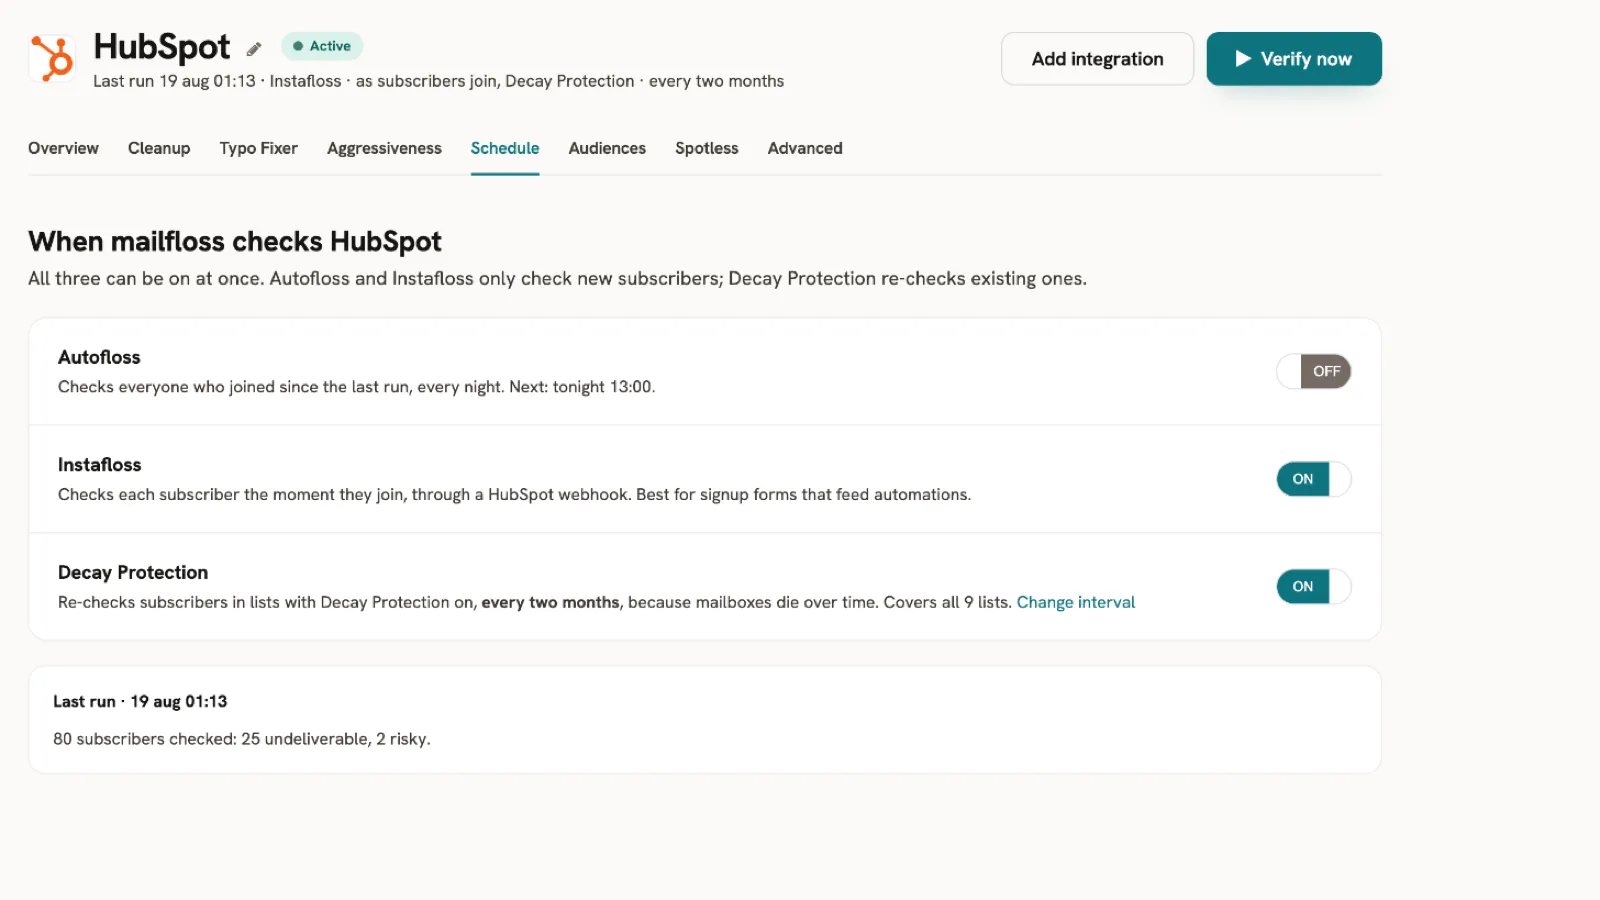
On the Schedule tab, turn on the checks you want. All three can run at once.
- Autofloss checks every contact added since the last run, every night.
- Instafloss checks each new contact the moment it's created, through a HubSpot webhook.
- Decay Protection re-checks your existing contacts on the schedule you choose.
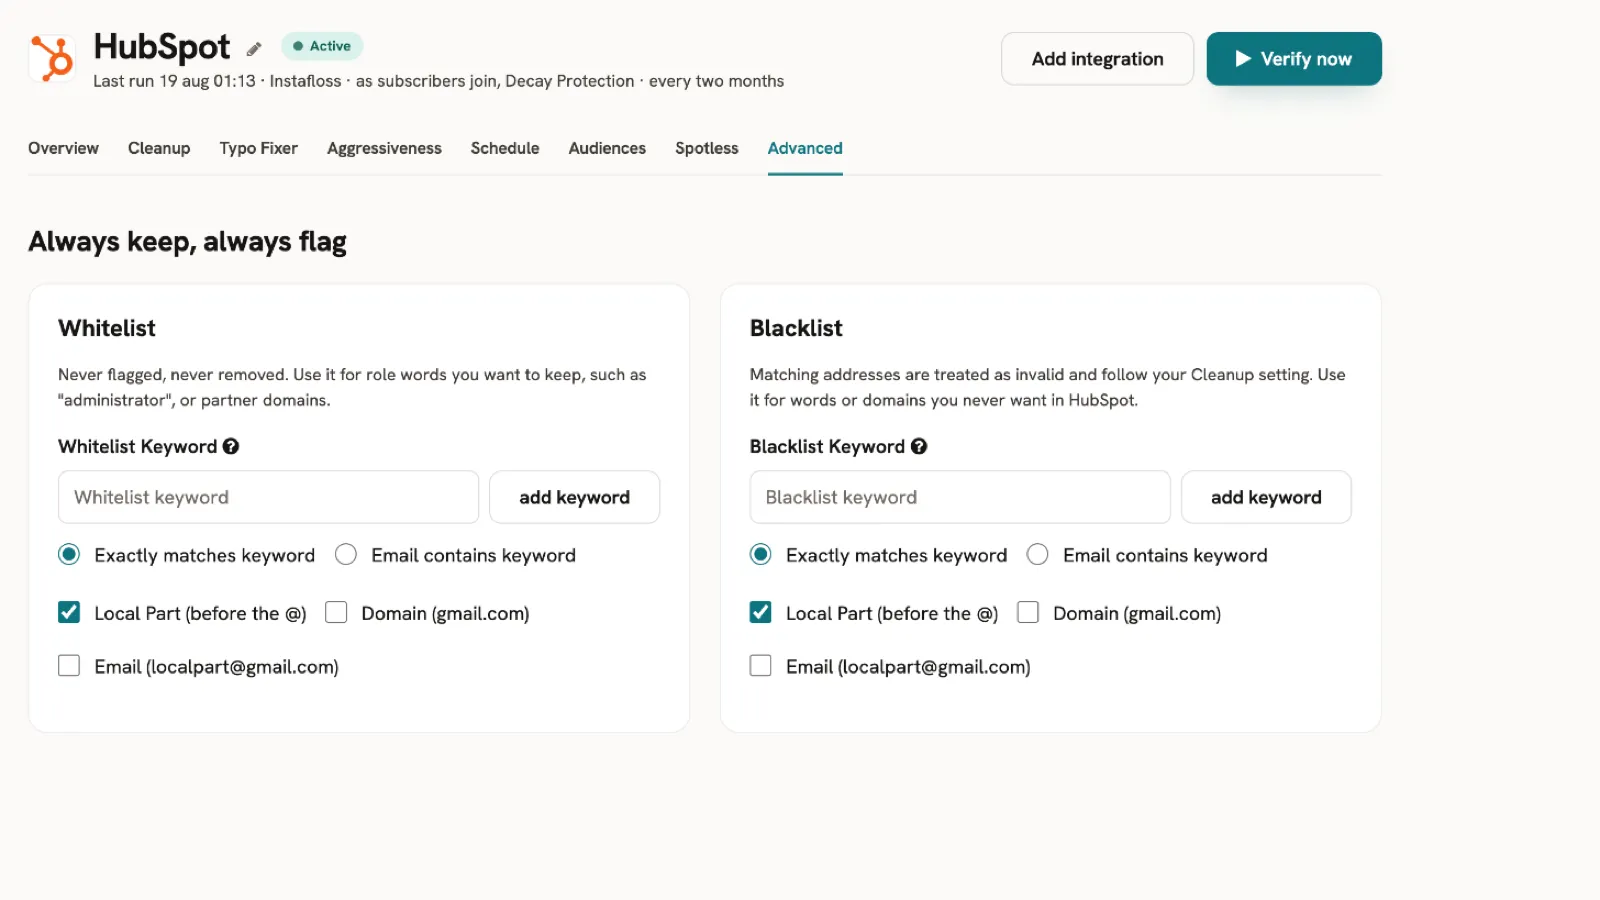
On the Advanced tab, add whitelist rules for addresses mailfloss should always keep, and blacklist rules for addresses it should always flag.
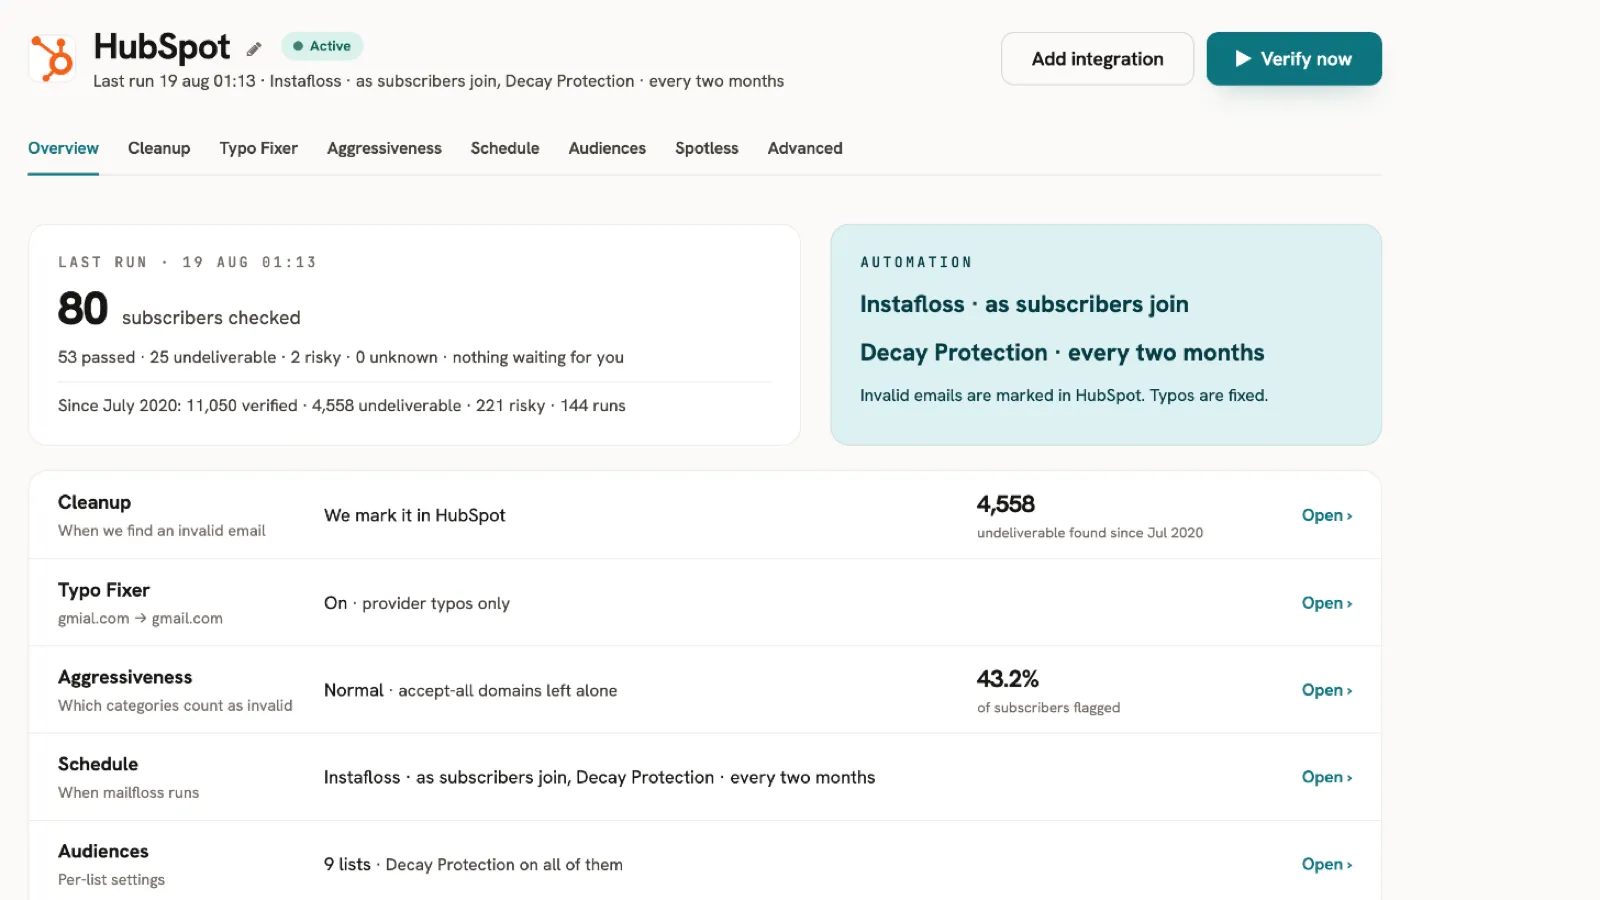
The Overview tab shows your latest run and every setting at a glance.
To see the contact properties mailfloss adds in HubSpot, read How to verify if the mailfloss custom properties were created in HubSpot.
Disconnect HubSpot
Open your HubSpot connection in mailfloss, go to the Advanced tab, and click Disconnect. mailfloss stops checking and changing your HubSpot contacts, removes its access to your HubSpot account, and uninstalls the mailfloss app from HubSpot, so it no longer appears in Connected Apps. Your contacts in HubSpot are not changed. If another mailfloss connection uses the same HubSpot account, the app stays installed until you disconnect that connection too.

Uninstall mailfloss from HubSpot
You can also remove mailfloss directly in HubSpot:
- In HubSpot, click the settings icon and go to Integrations > Connected Apps.
- Find mailfloss, click Actions, and then click Uninstall.
- Confirm the uninstall.
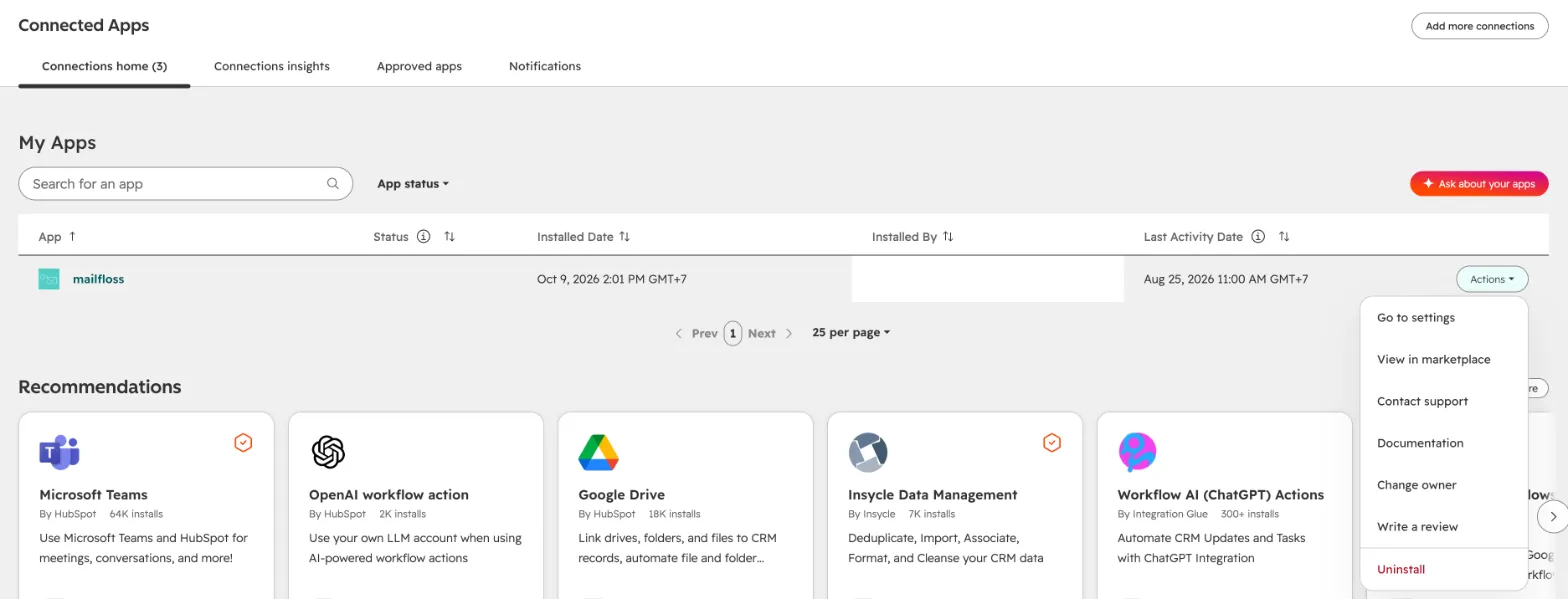
If you uninstall the app in HubSpot first, mailfloss shows the connection as needing to be reconnected. Disconnect it in mailfloss to remove its settings.
For an overview of what mailfloss does for HubSpot, see the HubSpot integration page.